Your iPhone camera has the potential to take professional-looking photos and videos. However, to get the most out of your iPhone camera, you must understand how to take advantage of the settings that Apple includes on the device. Use the following advice to capture high-quality photos and videos that impress your friends and family. Who knows, you might even use your smartphone to create professional work!
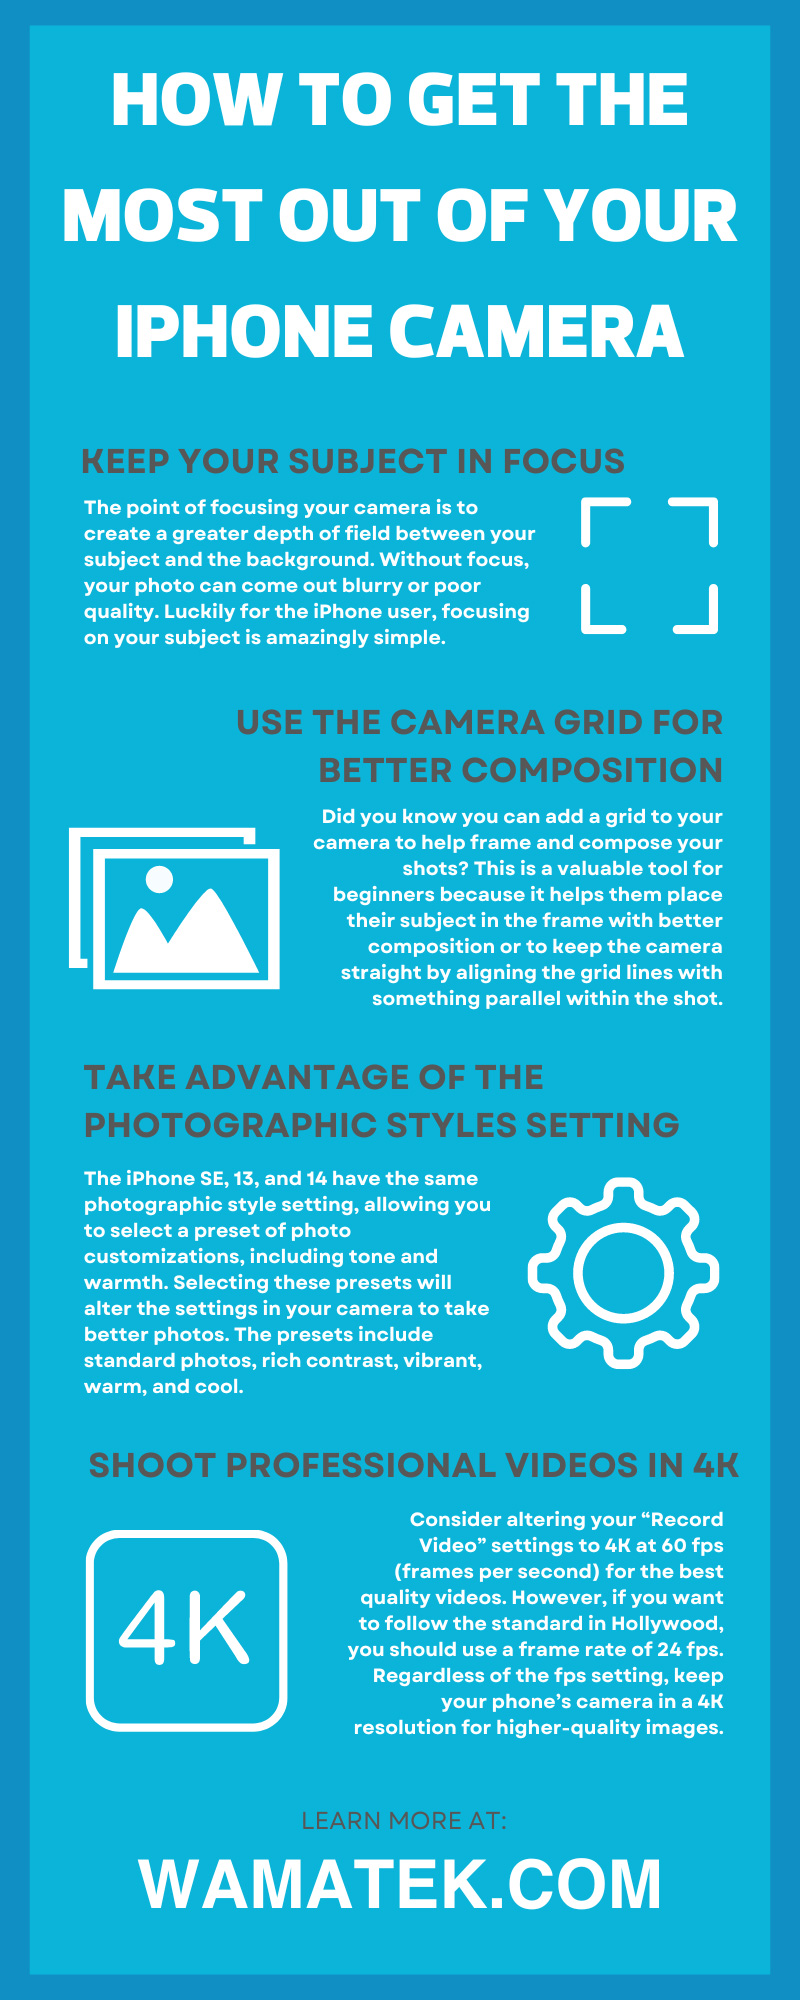
Keep Your Subject in Focus
The point of focusing your camera is to create a greater depth of field between your subject and the background. Without focus, your photo can come out blurry or poor quality. Luckily for the iPhone user, focusing on your subject is amazingly simple.
After framing your subject with the camera, tap the object or person on the phone’s screen to keep them in focus. You will know the focus is set because a small yellow box will appear with a sunshine icon next to it. Feel free to tap anywhere on your screen to set the focus; it doesn’t always need to be the subject.
Use the Camera Grid for Better Composition
Did you know you can add a grid to your camera to help frame and compose your shots? This is a valuable tool for beginners because it helps them place their subject in the frame with better composition or to keep the camera straight by aligning the grid lines with something parallel within the shot.
For example, the rule of thirds is a technique many photographers and videographers use to better compose a photo. The rule of thirds states that your subject is better-placed off-center instead of in the middle because it leads to a more compelling image. Turning on the camera’s grid lines can help you learn this technique!
To switch on the grid lines, navigate to your phone’s settings. Scroll down and click on “Camera.” Under composition, toggle the grid on. Now the grid will permanently appear when you open the camera; if you need to remove this setting, follow the same steps and toggle the function off.
Take Advantage of the Photographic Styles Setting
The iPhone SE, 13, and 14 have the same photographic style setting, allowing you to select a preset of photo customizations, including tone and warmth. Selecting these presets will alter the settings in your camera to take better photos. The presets include standard photos, rich contrast, vibrant, warm, and cool. Choosing a different style will create different types of images.
This is an excellent setting because your photos will appear more professional, and the camera settings are already perfectly preset. So, if you’re unfamiliar with adjusting a photo’s brightness, tone, and warmth, the preset has you covered!
To turn this feature on, navigate to your phone’s settings and the “Camera” subheading. Scroll down, and under “Photo Capture,” there should be “Photographic Styles.” Click on this and scroll through the presets. After selecting one, your camera will now be in that specific mode. To switch presets, follow the same steps.
Manually Adjust the Exposure To Manipulate Brightness
Another setting you can manually adjust, like tapping for focus, is the exposure to alter the brightness of the photo. While you can edit the exposure of photos during the editing process, it’s worth knowing how to adjust it before you take the image to save you time. Too much exposure can minimize the detail of a photo because the shadows will be overly bright, while too little exposure will make an image appear dark with little contrast.
Fortunately for you again, adjusting the exposure is another super simple trick. Do you remember how to focus on a subject in a photo? Follow those steps so the small yellow box appears. Then, swipe up or down anywhere on the screen to lighten or darken the frame. Your goal is to capture as much detail as possible without over-exposing details and under-exposing shadows.
Don’t Forget About Night Mode
Night mode is a fairly new setting first introduced in the iPhone 11. So far, all versions of the iPhone after this model include the night mode setting. Ensure your unlocked used iPhone is an iPhone 11 and beyond to utilize night mode.
Most people take photos at night with the flash, but this can over-expose the image and wash out your subject. Night mode lets you capture more color and detail in low light without using the flash.
Night mode should automatically turn on when the phone detects you’re in a low-light environment. The round moon icon in the top left of the camera screen will be in yellow to verify that this mode is in use. You can always manually toggle this setting on, too, by tapping on the icon.
Shoot Professional Videos in 4K
Are you more interested in videography than photography? Capturing photos isn’t the only impressive thing iPhones can do. They can also shoot immaculate and professional-looking videos. However, to shoot a perfect video, you need to adjust the setting of your camera.
Consider altering your “Record Video” settings to 4K at 60 fps (frames per second) for the best quality videos. However, if you want to follow the standard in Hollywood, you should use a frame rate of 24 fps. Regardless of the fps setting, keep your phone’s camera in a 4K resolution for higher-quality images.
To change this setting, go back to your camera settings. Here, click on “Record Video.” Now you can preselect your video recordings’ resolution and frame rate to get the most out of your iPhone camera.
Activate Burst Mode for Action Shots
Burst mode is when cameras take multiple photos in quick succession to capture an object in motion. Without using this setting, action shots will look blurry. For example, if you’re taking a photo of a basketball player dunking without activating burst mode, the image will not be clean, and you’ll likely capture the picture at the wrong moment.
Activating burst mode can take a cleaner image of the basketball player because you’ll get several action shots to choose from. On the iPhone, it takes about 10 photos per second in burst mode, so you hopefully get one image that has your subject in the perfect position.
To ensure this setting is on, go back to your camera settings. Under this menu, there should be a subheading titled “Use Volume Up for Burst.” Make sure this toggle is on. When you’re taking a photo of the basketball player, hold down the top volume button on the side of your phone to take several images at once.
Apple loves to give you the best smartphone cameras, but you can’t get the most out of your device unless you know all the secrets and tricks. Manipulating the camera settings is a must when taking high-quality, professional photos with a smartphone camera. Remember the above tricks to ensure your photos and videos are immaculate.